
Matukio na Matukio
Kila Tukio litaonekana kwenye mipasho ya Tukio. Inaweza kufunguliwa kwa kubofya chaguo la Urambazaji wa Upau wa Upande.

Utaweza kuona maelezo ya onyesho la kukagua kila Tukio linalojumuisha :
Aikoni ya Aina ya Tukio - Imebainishwa na aina gani ya Tukio unalounda.
Jina la Tukio - Jina la otomatiki la Tukio huundwa kulingana na aina ya Tukio na linaweza kusanidiwa katika Maelezo ya Tukio.
Muda Ulioundwa - Wakati ambapo Tukio liliripotiwa.
Kipaumbele - Kipaumbele cha Tukio.
Tarehe na Wakati wa Tukio - Tarehe na wakati Tukio lilifanyika, hii inaweza kuongezwa mwenyewe na inaweza kuwa au isiwe tofauti na tarehe ambayo Tukio liliundwa.
Rukia Mahali - Kwa kubofya kitufe hiki ramani itakupeleka mahali halisi ambapo Tukio liliripotiwa.
Ili kutazama na kuhariri Tukio lililoundwa hapo awali itabidi ulichague kutoka kwa mipasho na dirisha jipya litaonekana na maelezo.
Maelezo
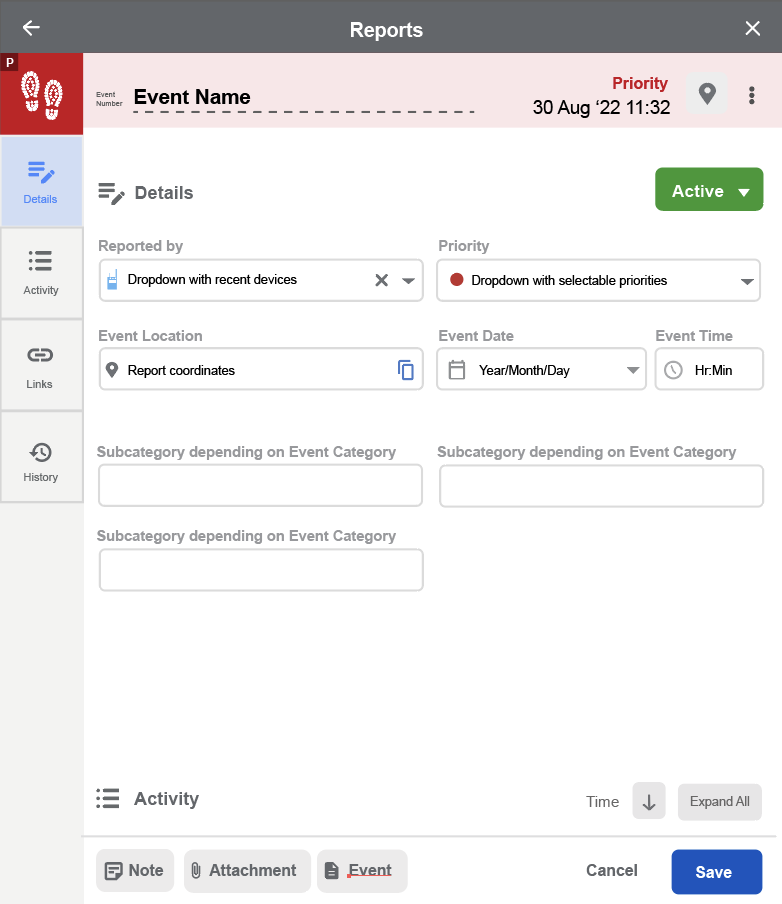
Kila aina ni tofauti na inajumuisha seti tofauti ya Maelezo ya Tukio kulingana na mahitaji ya Tukio hata hivyo muundo sawa kwa kila dirisha la Maelezo ya Tukio ni sawa.
- Jina la Tukio - Hili ndilo jina chaguo-msingi la Tukio kulingana na aina ya Tukio, linaweza kuhaririwa baada ya kubofya kwenye Dirisha la Maelezo ya Tukio.
- Kipaumbele - Hii inafafanuliwa wakati wa kuunda Tukio na itaamua rangi ya Tukio.
- Ruka hadi eneo - Utendaji huu unaonyesha eneo kamili kwenye ramani ambapo Tukio liko.
- Tarehe na Muda wa Tukio - Hii ndiyo tarehe na saa mahususi ambapo Tukio liliundwa.
- Mahali - Eneo la Tukio linaweza kubainishwa kwa njia nyingi, ikiwa ni pamoja na eneo la kifaa ambapo Tukio liliundwa, eneo la alama ya Ramani, viwianishi kamili na maeneo ya Tukio.
- Ongeza kwa - Unaweza kuunda Matukio na Matukio ya Mgawo kwa kuyaongeza moja kwa moja hapa.
- Hali - Utaweza kubainisha hali ya Tukio, inaweza kuwa Active au Kutatuliwa.
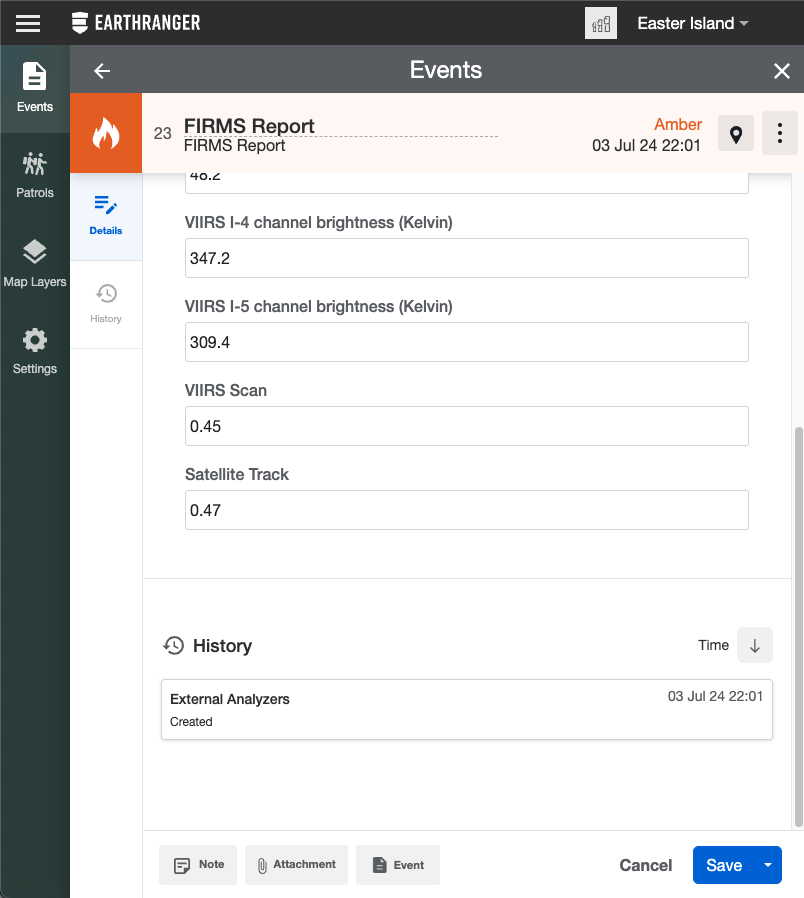
- Maelezo - Utaweza kuongeza maelezo muhimu ya Tukio kama vile ni nani anayeripoti Tukio, kipaumbele, na eneo. Kulingana na Kategoria tofauti za Matukio, baadhi ya menyu kunjuzi zinaweza kutofautiana.
- Shughuli - Utaweza kuongeza viambatisho tofauti na madokezo kwa kila Tukio ili kuwa na taarifa zote muhimu. Hapa ndipo yataonyeshwa na yanaweza kuhaririwa.
- Viungo - Utaweza kupata viungo vinavyohusiana na Tukio lililochaguliwa, kama vile Kazi na Matukio.
- Historia - Hapa utaweza kuona shughuli yoyote inayohusiana na Tukio, kama vile watu kuongeza Matukio kwenye matukio, kuambatisha picha, au kusasisha hali.
- Ongeza Kumbuka - Chaguo la kuongeza maelezo ya ziada kwenye Tukio.
- Ongeza Kiambatisho - Ambatanisha habari kwenye Tukio.
- Ongeza Tukio - Hii itasababisha dirisha la ripoti ya Tukio Jipya na kukuruhusu kuunda Matukio mengi.
Unaweza kushiriki Tukio lako kwa yeyote anayeweza kufikia tovuti yako ya EarthRanger kwa kunakili url ya Tukio unalotaka kushiriki.
Shughuli
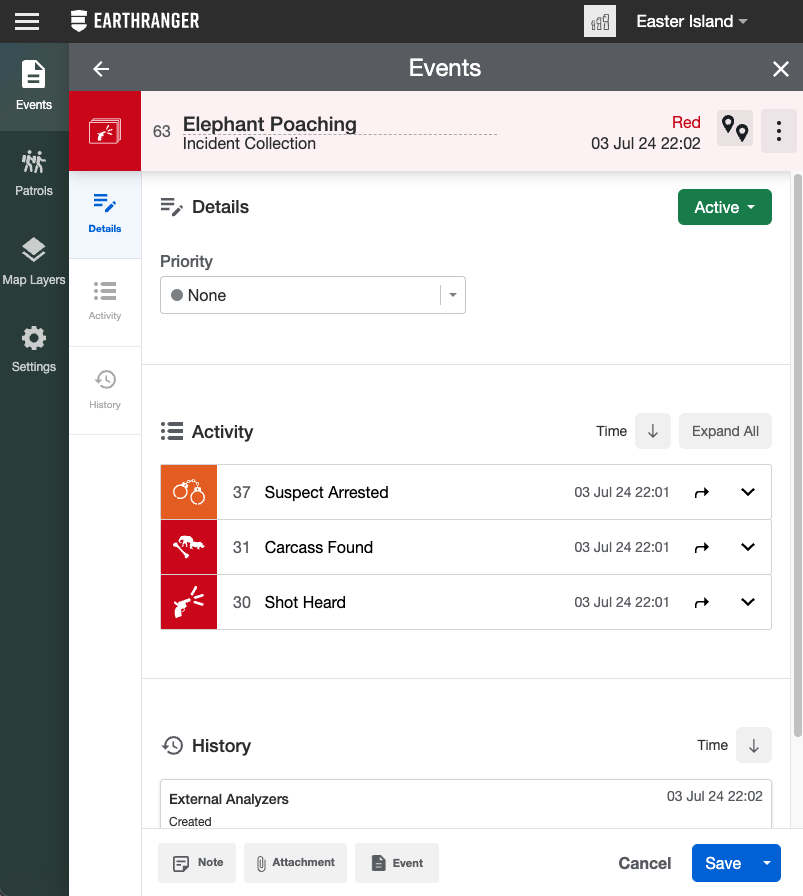
Ili kuongeza taarifa zote muhimu kwenye Tukio lako unaweza kuongeza madokezo, viambatisho na Matukio. Kuongeza Tukio kwenye Tukio kutaunda Mkusanyiko mpya wa Matukio kiotomatiki. Sehemu ya Shughuli katika Tukio inaonyesha kalenda ya matukio ya Matukio, madokezo na viambatisho jinsi yalivyoundwa. Sehemu ya Shughuli ya Tukio itaonyesha madokezo na viambatisho vilivyoongezwa kwenye Tukio.
Shughuli zote zitaorodheshwa kuonyesha ingizo la hivi majuzi kwanza. Unaweza kubadilisha mpangilio kwa mpangilio wa matukio kwa kubofya kitufe cha kishale kinachofuata wakati. Shughuli zinaweza kupanuliwa ili kuonyesha maelezo zaidi kwa kubofya "panua zote" au kishale kilicho karibu nayo. Taarifa iliyoonyeshwa na vitendo unavyoweza kufanya itategemea aina ya shughuli. Vidokezo vinaweza kupanuliwa ili kutazama dokezo zima na kuhaririwa. Viambatisho vya picha vinaweza kupanuliwa ili kuonyesha onyesho la kukagua picha au mwonekano kamili wa skrini ambapo unaweza kupakua picha. Matukio yanaweza kupanuliwa ili kuonyesha muhtasari wa Tukio au unaweza kwenda moja kwa moja kwenye Tukio lenyewe.
Historia
Hapa utaweza kuona mabadiliko yoyote kwenye Tukio, kama vile watu kuongeza Matukio kwenye Matukio, Kuambatanisha picha, kusasisha hali, au kuhariri maelezo.
Matukio
Matukio ni mkusanyo wa Matukio yaliyotokea kwenye suala moja linalohusiana. Ili kuunda Matukio, Matukio lazima yaundwe kibinafsi kwanza na kabla ya kuhifadhi unaweza kuongeza Matukio zaidi chini ya dirisha la Tukio.
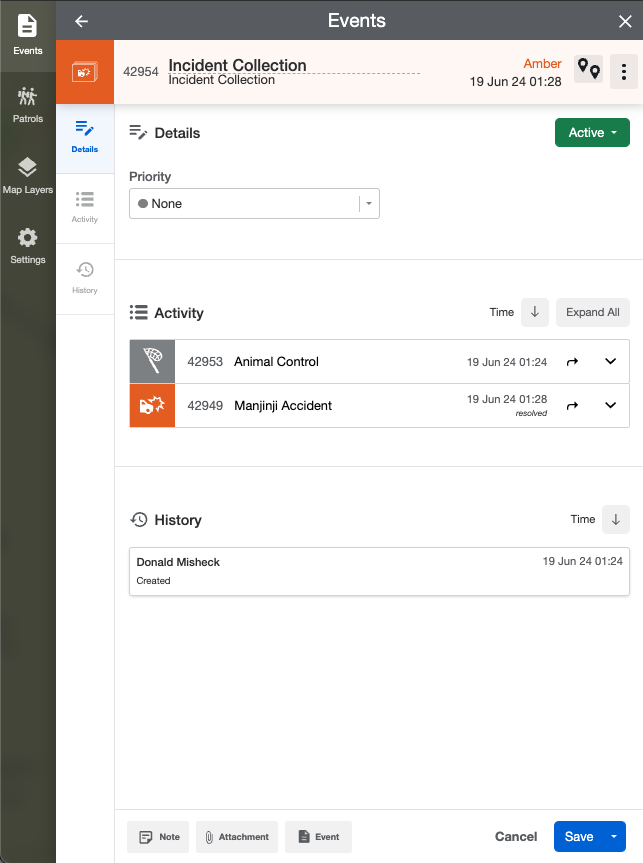
Unaweza kutambua matukio kwenye Mlisho wa Matukio kwa kupata ikoni.  .
.
Kama ilivyo kwa Matukio, unapofungua Maelezo ya Tukio, unaweza kurekebisha Jina la Mkusanyiko wa Matukio, kurekebisha kipaumbele, kutatua tukio na kuongeza madokezo, viambatisho na Matukio mengine ili kujumuisha kwenye Tukio.
Katika sehemu ya Shughuli, unaweza kutazama Matukio yaliyoambatishwa kwenye Tukio. Una chaguo la kupanua maelezo ya kila Tukio kwenye skrini au nenda kwa Tukio kwa kubofya chaguo zilizo karibu na jina la Tukio.